Caught in Crystal?
Jane Doe
(Illinois, United States of America)
I have a framed piece of art that I purchased from an art fair last year, and I would like to replicate it in some way if I could. The lady from whom I purchased it printed a picture on plain white paper, and glued it onto a piece of clear glass. She then applied something over the picture, which turned the paper somewhat transparent, but the colors really stand out. Do you know what it is she is applying to it? I know that she has to allow it to dry a few days, but I'm not sure if she is applying more than one coat. Any information you can provide would be greatly appreciated.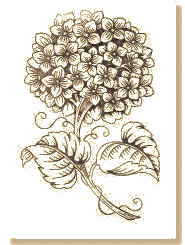
It's not really altered art, of course, but as it happens we think that we may know what you are talking about. There's a technique known as Caught in Crystal that's very much like what you are describing.
A while ago, Maria wrote a tutorial about how to use this technique in card-making:
"Take a piece of heatproof acetate, and stamp your image with a StazOn® or similar ink pad. Here's an example using the 'Hydrangea' stamp from Rubber Stampede (Picture 1).
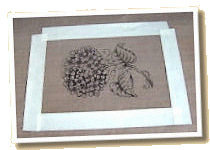
Turn the acetate over, and tape it to a non-stick craft mat with masking tape, making sure that there are no gaps, as otherwise your inks may seep underneath (Picture 2).
Pour a small puddle of Future (Johnson's) Klear floor polish onto the back of your acetate, and use a paintbrush to spread it over as much of your image as you would like to show on your card. Make sure that you clean your brush at each stage after contact with the floor polish. Sprinkle some extra fine glitter over the polish, but don't overdo it; you need only very little.
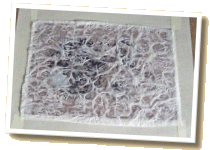
Crumple a piece of tissue paper into a ball, and then open it up again, but don't flatten it too much. Place it onto the polish and glitter, pressing the tissue down lightly so that it's in contact with the wet acetate (Picture 3).
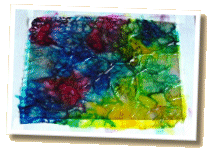
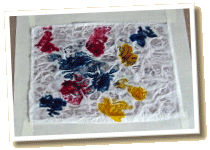
Drip a few drops of coloured inks (re-inkers or Posh Impressions Inkabilities) in your chosen colours onto the tissue paper (Picture 4). Pour small puddles of the floor polish onto the inks, and allow the colours to spread. You can help this process along by dabbing the inks and polish with a paintbrush (Picture 5).
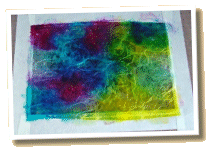
When you're satisfied with the colouring, place a piece of kitchen paper on top of the wet inks, and dab lightly to remove the extra ink. Make sure that you don't disturb your coloured tissue.
Dry the acetate and tissue layers with a heat gun, making sure that you don't overheat them.
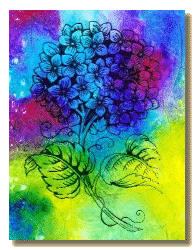
Pour another small puddle of the floor polish onto the layers to seal them, spreading it to the edge with a paintbrush, and again dry your work with a heat gun (Picture 6).
When the piece is completely dry, remove the masking tape, and crop it to the size that you require (Picture 7). Mat the acetate on a light coloured card (I used mirror gold for my example), and stick it onto a matching card."
What would you like to tell us about? What would you like to hear about from other visitors? Why not make a suggestion for contributions?


Enjoyed your visit? Why not leave a comment?